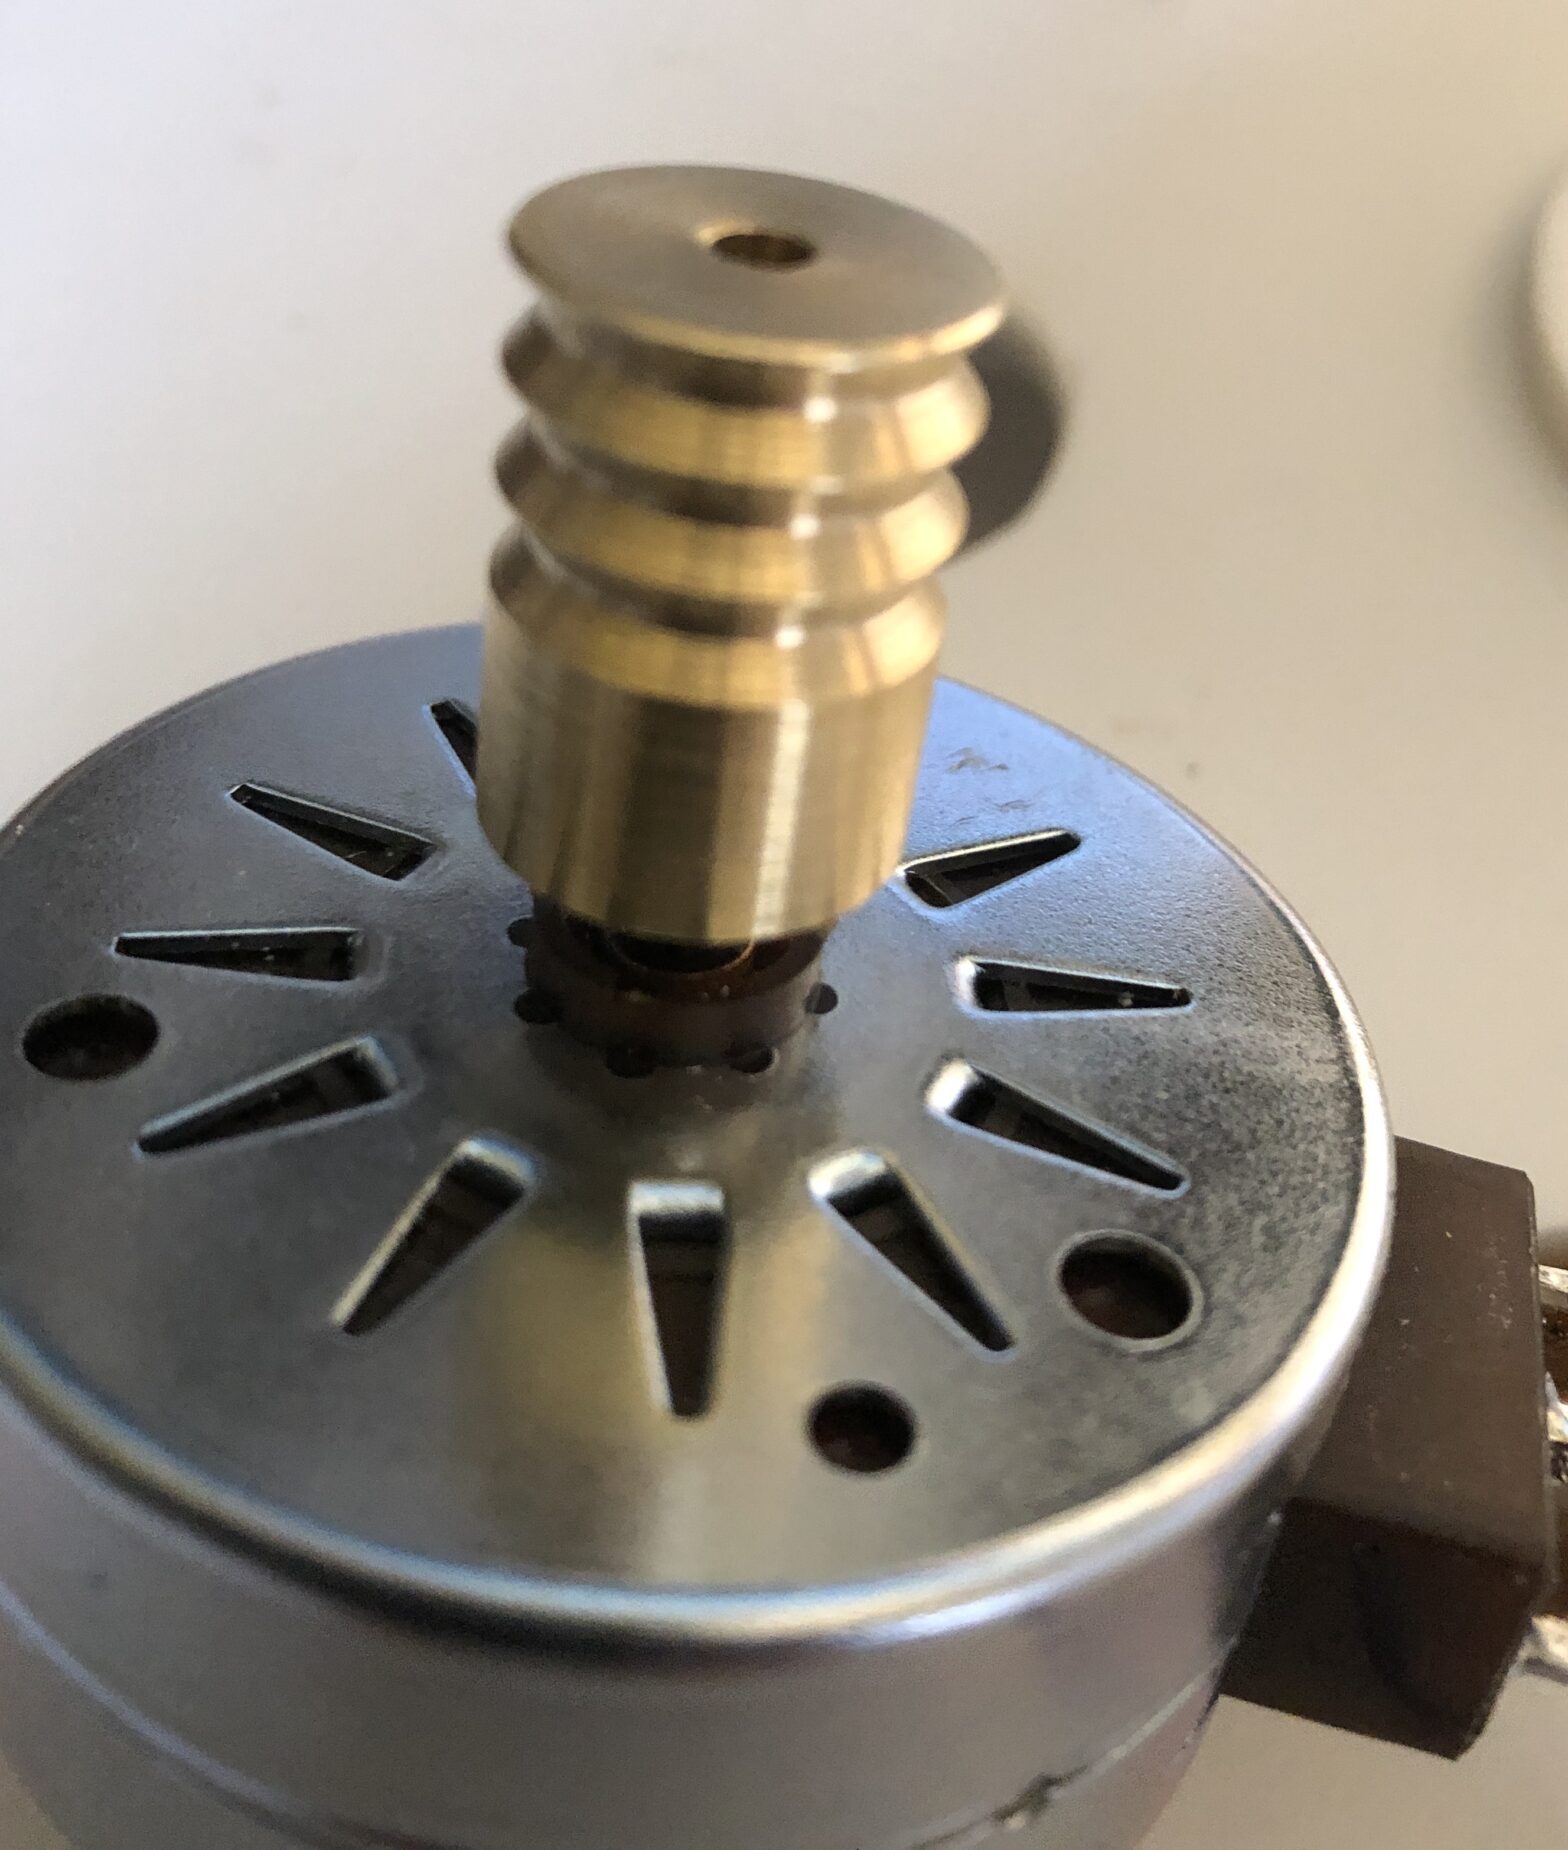
This is a simple circuit designed for use with 24V AC synchronous turntable motors. Specifically the Premotec 9904 111 31823 as used by Rega and many others, but it can also be used with a 7.5-degree stepper motor. The Premotec is essentially a very expensive, purpose-designed stepper, but any stepper is just as smooth if run using an AC sine wave.
These motors are have a 24 pole rotor with two coils, and are designed to step in accurate increments of 7.5 degrees. They are commonly used in applications such as robotics or computer-controlled manufacturing machinery due to their positional accuracy. However they have been used in turntables for decades, with the frequency of the AC line voltage (50Hz in the UK) used as the source of their stepping pulses.
Given 50Hz, or more correctly 50 cycles per second, the two coils combined give 100 pulses per second, both coils being driven by a phasing capacitor to give a 15-degree step angle. 50 Cycles per second therefore gives 6000 pulses per minute and 90,000 degrees. 90,000 divided by 360 equals 250RPM, which just happens to be the common speed of most AC synchronous turntable motors specified for 50Hz operation. If we calculate the figures based on 60 cycles per second, we get an extremely accurate 300RPM.
Traditionally the coils are driven by an AC sine wave signal, with a capacitor providing the phase shift. Ideally that phase shift would be 90 degrees, but in reality the exact phase shift required for a given motor to run optimally can vary and component tolerances mean you’ll never achieve exactly 90 degrees with fixed component values.
The circuit here allows you to optimise the phase shift through the use of a trimmer which adjusts the phase angle, thereby significantly reducing motor vibration. It is optimised for a 24-volt motor but you could experiment with component values to achieve the same effect with the 12-volt Premotec motor and smaller steppers. I prefer the 24-volt motor as higher voltage means lower current, which in turn means it can be driven by a low-powered amplifier if you choose to build a waveform synthesiser for even better accuracy.
The circuit is similar to Rega’s design with some optimisations. I have also included the 4-pin DIN connector designed to interface with Rega’s TTPSU and Neo PSU power supplies, as they are popular among DIYers. This is a synthesised AC power supply with electronic speed switching via the onboard relay. The relay simply switches between the 2 circuits, thereby allowing both 33RPM (50Hz or 60Hz) and 45RPM (67.5Hz or 81Hz) to be optimised independently.
To adjust, hold the motor in your hand and power up the circuit. Adjust the trimmer to minimise the vibration you feel. It should be possible to minimise the vibration to almost nothing. The vibration of a suboptimal motor is very easily felt and will also transmit through the plinth as a hum in keeping with the mains frequency. The circuit should be powered from a 24V AC transformer or power supply of at least 100MA. It should not be powered using a DC power supply.
This circuit could be used to upgrade any turntable with a twin-phase synchronous motor, providing it runs at 250RPM. It can also be used with Thorens and Pro-Ject motors, which are 16-pole and thus at 50Hz run at 300RPM, though you may wish to experiment with component values. Damaged (and now unobtainable) Thorens motors can also be replaced with 250RPM stepper motors using this circuit, providing you drive them via a synthesised AC power supply at 60 cycles per second.
Unfortunately as common sense is no-longer a given a disclaimer is necessary. AC voltages can kill you, though 24 volts at the low currents drawn by these motors are quite safe. Nevertheless any electricity should be treated with respect. If you aren’t confident in your abilities, stop. Research and educate yourself on the theory of what you are attempting and the best safety practices, or find somebody with experience to teach you. I will not be held responsible for any damage or injury you cause to you, your equipment or any other person or inanimate object, whether by accident or through your own idiocy..
I use JLC PCB, but any PCB manufacturer should be able to work with these files. The KiCad files are also included. Thank you to Mans for his help in the PCB design, this would not have been possible without him.
You can also find below a motor data sheet which gives an example of the circuit for a 110V motor, and more great info including schematics and analysis of commercial PSUs at TurntablePSU.com.
The following is a bill of materials. These are just suggestions, feel free to substitute for equivalent parts. You can also adjust the values depending on the voltage of your motor.
- C1: KEMET R82DC3470DQ60K. Cap Film 0.47uF 63V 10%
- C2, c3, c4: KEMET R82CC4330Z330J. Cap Film 3.3uF 50V
- J1: Würth Elektronik 694108301002. DC Power Jack Connector Male, Right Angled
- J2: CUI Devices PD-40S. 4 Position, 7.5 A, Horizontal, Shielded, Power DIN Connector
- K1: Omron G6S-2-DC24. Electromechanical Relay 24VDC 2.88KOhm 2A DPDT (14.8×7.3×9.2)mm THT Signal Relay
- R1, R2: TE Connectivity ROX1SJ82R. Axial Metal Film Resistor 82Ohms +/-5% 1W
- RV1, RV2: Bourns 3386P-1-501LF. Trimmer, 500 Ohms, 1 Turn, Pwr 0.5W, Dim 0.375InLx0.375InWx0.19InH


Share Your Thoughts